Sunday, August 17, 2014

My Alamy experience - Part the second

Time flies when you're having fun - and drags when you're not.

Time has flown.  Mid August already; 7 months since I submitted my initial 4 images to the Alamy stock agency.  In an ideal world I'd be a millionaire by now - all photographers are rich, aren't they? - but reality has this nasty habit of trampling on one's dreams.  I've sold one image so far.

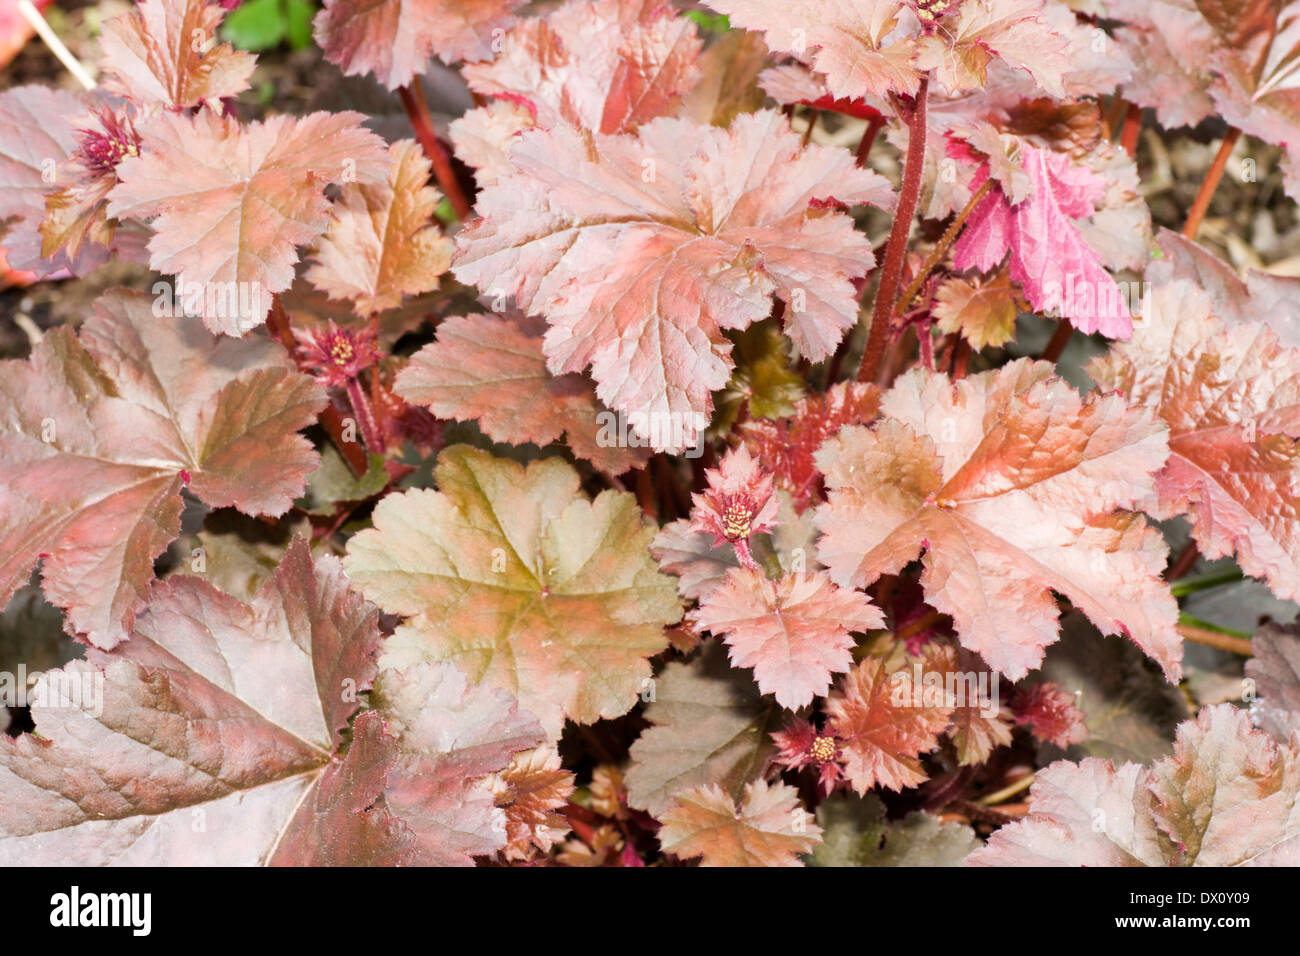
Heuchera 'Chocolate Ruffles'
For $16.38 (nett after commission - note to HMRC, I only get paid once my account balance exceeds $75).  Only one?  Here I am spending time and money taking the shots, hours processing and keywording, uploading and suffering through the interminable waiting for the notification that my hard work has passed QC.  And I've only sold one?  Is that all?

Yes.

At which point the novice photographer starts to think 'Bugger this for a game of soldiers' and goes back to flipping burgers for a living.  Myself, being of more mature years (OK, I'm old), have a slightly different, longer term perspective.

It takes time to build a portfolio of images.  After 7 months I've got 832 on sale (as of 16 August 2014).  On average I'm uploading to Alamy about 100 or so shots a month so it will be a year or three before I've got a more respectable image bank up for licence. Even then it depends entirely on the needs of the buyers.  If you haven't got what they're looking for you make no sales.  And with the type of editorial shots I take - plants and gardens, insect macro, a few general shots - the pool of buyers is bound to be limited.  Even if they do buy it can take a month or more for the sale to show up.  In this game 7 months is a very short time and 832 images a small portfolio.  My images simply haven't had enough visibility to generate more than the one sale.

So, how do you know whether more sales are in prospect?  The short answer is that you don't.  But Alamy provides some very good tools for getting a feel of the market place.  When a registered buyer does an image search they're presented with pages of images (120 seems to be the default) whose keywords match the search terms.  If a thumbnail of one of your images is presented to the buyer you score a view.  If they click on it to look at a larger image you score a zoom.  The number of zooms divided by the number of views, multiplied by 100, provides a “Click Through Rate”(CTR).  Here's my figures:


Not a vast amount of views - I'm a specialist, remember - but a good CTR from the number of zooms.  Analysis of the views indicates that a high percentage are relevant to the search term.  All of which suggests two things.  Firstly, my images are being seen by buyers who are actually looking for those type of images.  Secondly, having seen them, there is sufficient interest to give them a closer look.  Non of which guarantees sales, of course.  Competition is always there, both within Alamy and through other agencies.  But it's encouraging - and that, at this point in my Alamy experience, is what keeps me uploading.

Monday, August 4, 2014

Testing the Cotton Carrier Strapshot - part 1

I had an email a couple of weeks ago asking if I was interested in reviewing the Cotton Carrier Strapshot system.  I have to confess I'd not heard of the company - hardly surprising as they're Canadian and I'm in the UK - but a quick check of their website and a read of the details of the product intrigued me enough to agree to do a review.

The product was duly dispatched and I got it in time to have a quick look over this last weekend.

The concept is simple.  Attach the velcro backed Strapshot round the main strap of a camera bag (I use a Lowepro Slingshot 200), anchor it with the detachable strap for additional security - exactly where depends on the make of bag but there is plenty of flexibility built into the system - and make sure that the fixing slot faces forward when the bag is in place.

Strapshot fixed round the camera bag strap

The camera then slots into the slot via a well engineered circular mounting that fixes via a recessed screw to the camera tripod mount.  One possible future problem is that the screw is tightened using an Allen key - a small tool that could be easy to lose and would need to be carried in the main bag at all times.  The mount then goes into the slot.  Any position other than that used to slot it in and the camera is locked in place.  A quick twist to orient the camera for removal and it's unlocked ready for removal.  A detachable tether secures the camera should it be fumbled during loading or unloading from the Strapshot.


In use the camera hangs lens downwards.  This is a very comfortable carrying position, the body and lens resting comfortably on my pensioner's paunch.  My biggest lens is a Sigma 180mm macro and the Strapshot carried this easily - albeit with the tripod ring.  Unlike a neck strap there is very little feeling of weight so bigger lenses are likely to be far more comfortable to use for a full days shooting.  I'll know more when I've had a chance to get out for longer but, typically for the UK, the weather wasn't that kind over the weekend.

An additional bonus that came include with the Strapshot is a hand grip.  I've always been in the habit of using the a neck strap as a hand strap and the one provided is very comfortable to use.

Strapshot hand grip
Time will tell how effective this is as a long term camera carrying solution.  Initial impressions are that it's well made, seems very sturdy, locks the camera in place very effectively and securely, and doesn't put weight on the neck, an important consideration for we older photographers.  The locking mount seems to take any amount of pressure without yielding but slides out easily when the camera is at the correct orientation.  Practice and muscle memory will improve the speed of mounting / dismounting the camera from the Strapshot but even the first few tries were quick and easy so it should become a slick manoeuvre within a very short time.

There are a couple of problems but these are tied in with my photographic interests and method of working rather than any deficiency with the Strapshot.  Whenever possible I prefer to work with a tripod or monopod for my garden and plant photography.  For the insect photography I usually work with a flash on a bracket.  All of these tie up the camera tripod mount the Strapshot needs for its connector mounting.  In the field I'm not going to continually switch between the Strapshot mount and a quick release plate so it will be one or the other - and I suspect the quick release plate will win.  I can see it working with the Sigma 180mm macro with both the camera body mount and the tripod ring available - but it's rare to use only that lens in a session so once again I'd have to make the choice.

Having said that there are many occasions when I don't carry a tripod, monopod or flash bracket.  Sightseeing and other touristy things, walks with Maria, walking the dogs and other activities.  That's where I suspect the Cotton Carrier Strapshot will come into its own.  And that's what I intend to report on as part of a longer term test.

In the meantime the YouTube video below shows the Strapshot in use.  That's not me!